Concept
One of the main concepts of the game is that sound triggers a visual response by bringing colour back to a grayscale world, we can achieve the visual part of this by first creating the world in colour, and then, use shaders to manipulate the saturation of the render on the gpu.
Grayscaling[1]
Fundamentally, all grayscale algorithms in RGB colour space work in 3 steps.
- Get the Red, Green and Blue components of a colour.
color(R,G,B) - Mathematically transform the values into a single gray value.
- Substitute each of the colour values for the calculated gray value.
RGB Averaging
The most simple approach to this is to average the values $Gray = \frac{R + G + B}{3}$

Fast and simple, but does not capture the brightness of the image very well.
As an HLSL shader function it would be:
float3 Grayscale(float3 inputColor)
{
    float gray = (inputColor.r + inputColor.g + inputColor.b) / 3;
    return float3(gray, gray, gray);
}
RBG Perceptual Correction
Image processing software (GIMP) often use a weighted conversion technique that based around luminosity. The weight of each color component is based upon the amount of cones in the human eye. 30% red, 59% green and 11% blue. $Gray = (0.3R + 0.59G + 0.11B)$
Its more common in RGB color spaces to use ITU-R BT.709 $(0.2126R + 0.7152G + 0.0722B)$ or BT.601 ($(0.299R + 0.587G + 0.114B)$) to calculate relative luminance.
float3 Grayscale(float3 inputColor)
{
    float gray = dot(inputColor.rgb, float3(0.2126, 0.7152, 0.0722 ))
    return float4(gray, gray, gray);
}

The result is much better.
Each of the above functions can be used to grayscale a color by an amount interpolating between the original and the grayscale.
    void GrayscaleAmount(inout float4 inputColor, float amount)
    {
        inputColor.rgb = lerp(inputColor.rgb, Grayscale(inputColor), amount)
    }
HSL/HSV Desaturation
HSL (hue, saturation, lightness) and HSV/HSB (hue, saturation, value/brightness) are transformations of RGB colour space designed to more closely align with human colour perception. The relevant difference in this case is that an objects colour in HSL with a maximum Light translates to pure white, while in HSV the same object with a maximum Value would still appear the same color, just much brighter. A comparison of the 2 RGB representations can be seen below.
Instructions: Click and Drag mouse to change:
- up/down to change the saturation (bottom = 0%, top = 100%)
- left/right to change the lightness (left = 0%, right = 100%)
Left: HSV, Right: HSL
As changing the saturation of the colour is simply changing one value (S), grayscaling of can be as simple as setting the saturation component to 0. This method is interesting as it can easily allow the animation of the saturation parameter to create interesting effects, and is the method I will employ in the final shader.
HLSL Shader
Third-Party functions
As the saturation level will be controlled in the shader via a input parameter, colour conversion will be done on the shader. The math is quite involved so rather than re-invent the wheel, I'm currently using optimised RGB-HSL/HSV conversion functions from Ian Taylor
Surface Shaders
Unity provides a HLSL code generation system that simplifies the creation of lit shaders. You define a surface function in HLSL to populate a SurfaceOutput struct with the properties of the surface, and Unity generates pixel/vertex shaders and rendering passes.
Surface shaders can have a finalcolor modifier which calls a function to modify the final pixel colour after all rendering passes. I used this in my proof of concept shader as a way to quickly see if this was the way we wanted to go with the game.
Shader "Testing/Desaturated" {
    Properties{
        _Saturation("Saturation", Range(0, 1)) = 1.0
        _Color("Color", Color) = (1,1,1,1)
        _MainTex("Albedo (RGB)", 2D) = "white" {}
        _Glossiness("Smoothness", Range(0,1)) = 0.5
        _Metallic("Metallic", Range(0,1)) = 0.0
    }
    SubShader{
        Tags{ "RenderType" = "Opaque" }
        LOD 200
        CGPROGRAM

        #pragma surface surf Standard finalcolor:Final
        #pragma target 3.0

            struct Input {
            float2 uv_MainTex;
        };

        sampler2D _MainTex;
        fixed4 _RGB;
        uniform float _Saturation;
        half _Glossiness;
        half _Metallic;
        fixed4 _Color;

        #include "ColorFunctions.cginc"

        // FinalPass shader to desaturate
        void Final(Input IN, SurfaceOutputStandard o, inout fixed4 c)
        {
            // Convert to HSL
            float3 HSL = RGBtoHSL(c.rgb);

            // Set aturation based on shader input
            HSL.g = _Saturation;

            // COnvert back to rgb
            c.rgb = HSLtoRGB(HSL);
        }

        // Generic surface shader
        void surf(Input IN, inout SurfaceOutputStandard o) {

                fixed4 albedoColor = tex2D(_MainTex, IN.uv_MainTex) * _Color;
                o.Albedo = albedoColor.rgb;
                o.Metallic = _Metallic;
                o.Smoothness = _Glossiness;
                o.Alpha = c.a;
        }
        ENDCG
    }
    FallBack "Diffuse"
}
Modifying the Unity Standard Shader
I wanted to have the same functionality of the Unity standard shader and editor. Unity ships with source for the standard shaders. I branched the standard shader, replaced includes and functions to point to customised versions, and then injected my saturation code into the shader in several places to enable saturation controls for forward and defered lighting models. I then modified the shader editor to display my saturation properties.
World Space grid overlay
We were having some issues with scale when putting together level designs with prototype assets. To alieviate this I decided to write an addition to the shader to apply a worldspace grid overlay to the render. There are a few examples of this in the standard unity assets, the prototype assets pack uses an emmision texture and the standard shader, however, I want to be able to use the emission channel normally, so I took another approach.
Unity had/has a worldspace grid shader which I adapted to use in this shader.
This function uses a mask texture mapped to world coordinates instead of UV's to selectively invert the colours of the object. Simply, providing the shader a black texture with a white border produces an area of inverted colour when either the x,y or z coordinates intersect the world grid. This grid can also be scaled, and is toggleable in the shader. This effect would be removed in production code.
half3 InvertOverlayGrid(float3 posWorld, half3 normalWorld, half3 color)
{
    half3 c = color;
    if (_WCoord > 0)
    {
        half3 texXY = color + (1 / color * tex2D(_GridTex, posWorld.xy * _BaseScale.z).xyz);
        half3 texXZ = color + (1 / color * tex2D(_GridTex, posWorld.xz * _BaseScale.y).xyz);
        half3 texYZ = color + (1 / color * tex2D(_GridTex, posWorld.yz * _BaseScale.x).xyz);
        half3 mask = half3(
                dot(normalWorld, half3(0, 0, 1)),
                dot(normalWorld, half3(0, 1, 0)),
                dot(normalWorld, half3(1, 0, 0)));

        half3 tex =
                texXY * abs(mask.x) +
                texXZ * abs(mask.y) +
                texYZ * abs(mask.z);

        c = tex;
    }
    return c;
}
Distance based per Pixel Saturation
Previously we had decided that it would be great to have an area saturated (rather than an object) and have this saturation area fade out towards the edges. To do this, the saturation function would need to incorporate world space distance calculations to calculate the pixels distance from the center of the area.
The first iteration of this is below.
half4 Desaturate(half4 c, float3 worldPos)
{
    half4 outVal = c;

    // Do we have a saturation value?
    if (_Saturation > 0)
    {
        // set grayscale saturation
        float3 HSL = RGBtoHSL(c.rgb);
        float sat = 0;

        // Do we have a saturation provider?
        if (_SaturatorExists > 0)
        {
            // Set saturation based on distance from the saturator and its range
            // First 20% should be solid
            float a = _SaturationRange * 0.8;
            float dist = abs(distance(worldPos, _ClosestSaturator));

            // further shading should fade out saturation towards the edges
            sat = dist < a ? 1 : 1 - clamp(dist - a, 0, _SaturationRange - a) / (_SaturationRange -a);

        }

        // interpolate between 0 and original saturation by calculated amount
        outVal = half4(HSLtoRGB(float3(HSL.r, lerp(0, HSL.g, sat), HSL.b)), c.a);
    }
    return outVal;
}
Notes
The final shader is the unity standard shader with a final color modification per pixel. It handles both forward and defered lighting models and adjusts for lighting accordingly.
The shader is computationally expensive, each pixel calculates its own distance from the saturation point, calculates its color and converts that to and from HSL color space with a desaturation function.
Further work
Some of the shader calculations could be done in the fragment shader reducing the computational cost.
The desaturate function could be optimised further once the final smoothing function is decided upon.
The shader should be able to handle multiple locations for overlapping areas.
Updates
Issues
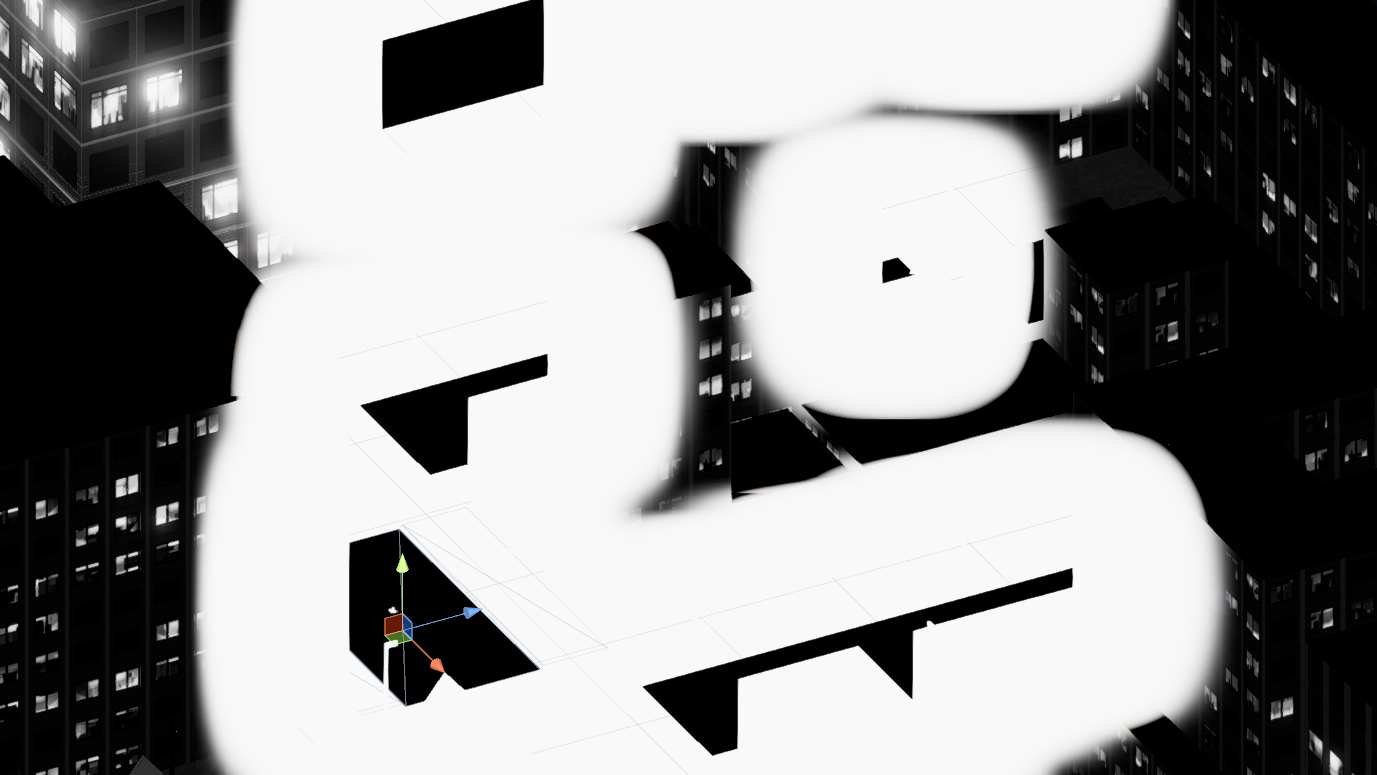
During development an issue arose with lighting in the shader that was causing lighting passes to return large black areas where there should have been soft lighting.
I believe this is due to the colour functions expecting positive clamped (0-1) values of RBG in HSL/HSV conversion, a subtractve colour RGB(-0.2, -0.2, -0.2) or HDR RGB(1.2, 1.2, 1.2) causes issues with conversion. I narrowed this down to unity's Additive lighting passes but could not come up with a fix in a reasonable amount of time.
Changing direction
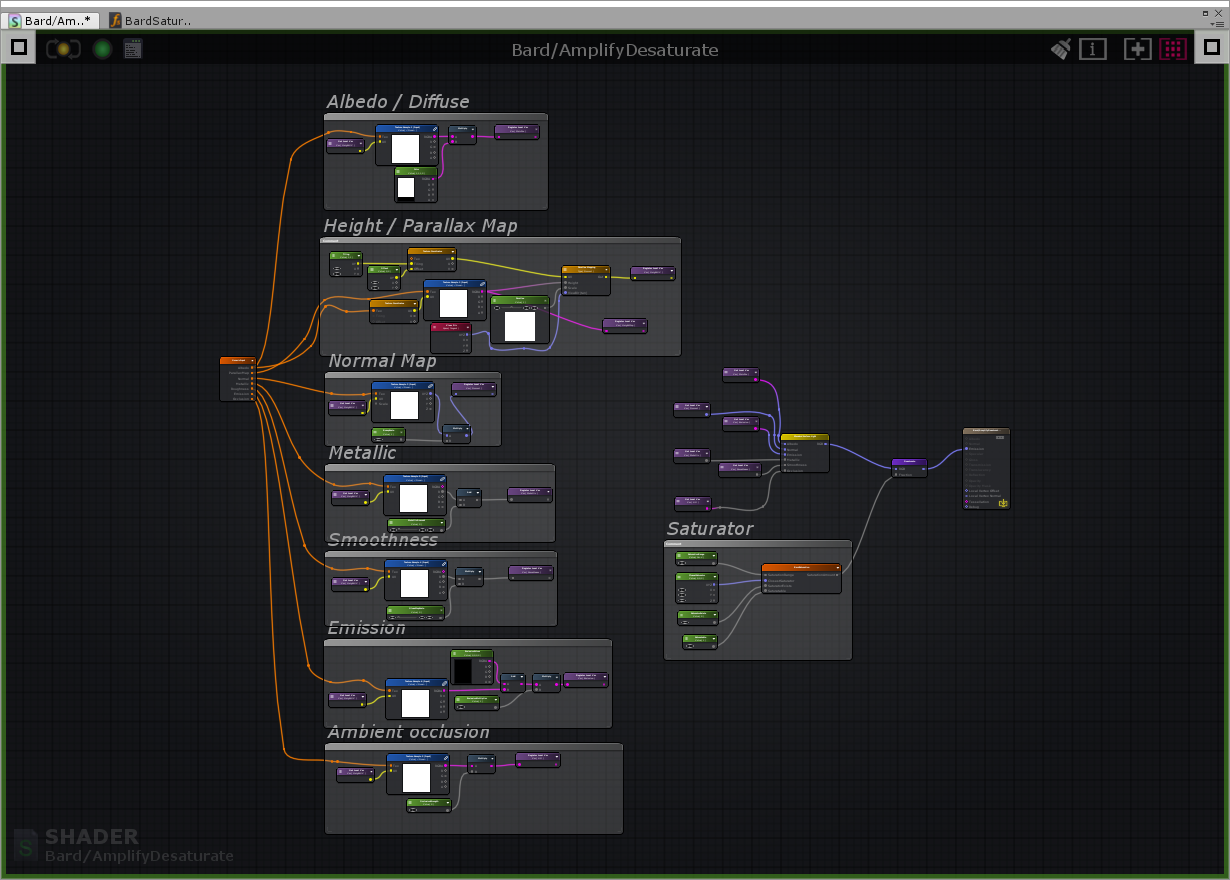
As I own the editor extention Amplify Shader, I decided to see if I could replicate the shader using its node graph interface.
Main Shader
Saturation Functions
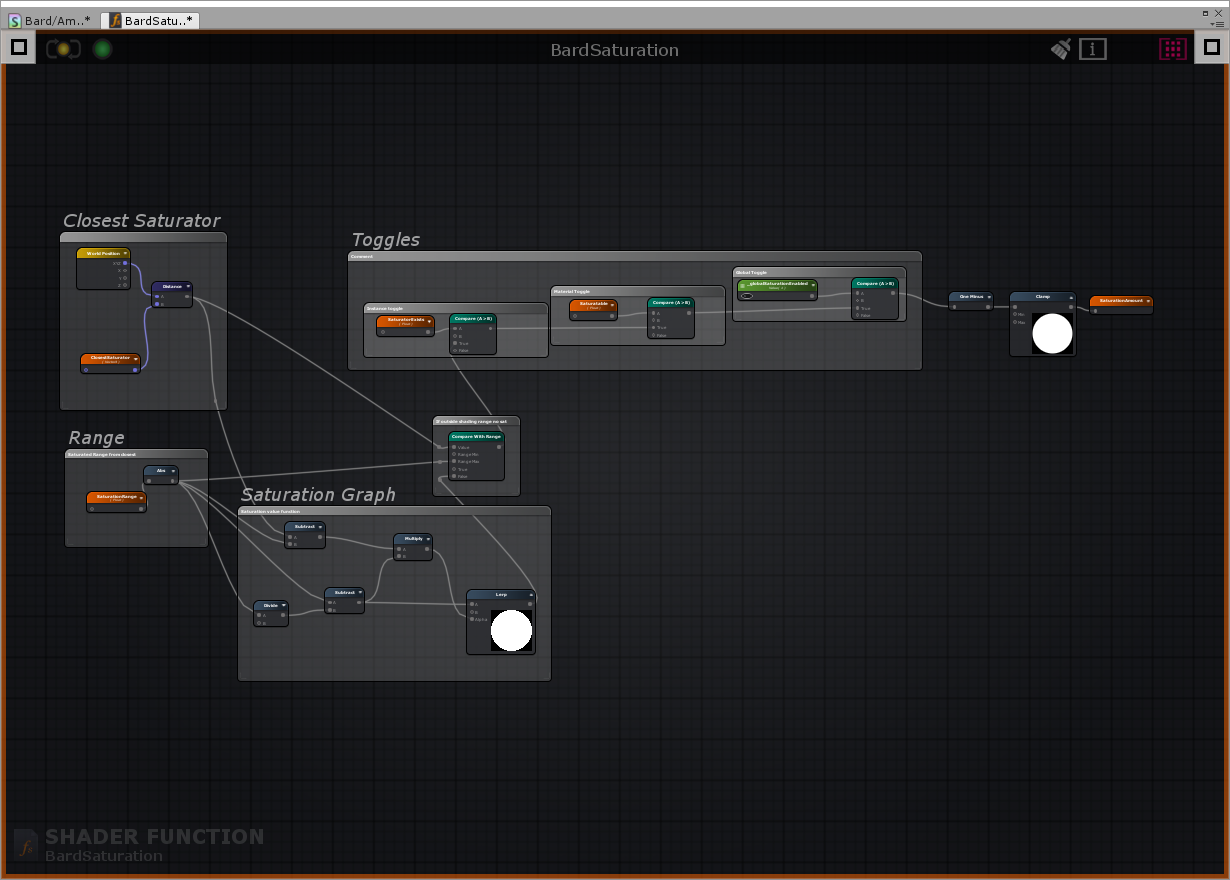
After a short amount of time I managed to replicate the desaturation code, but as surface shaders use standard unity lighting model I had to build custom lighting functions to allow me to desaturate the lighting.
Result
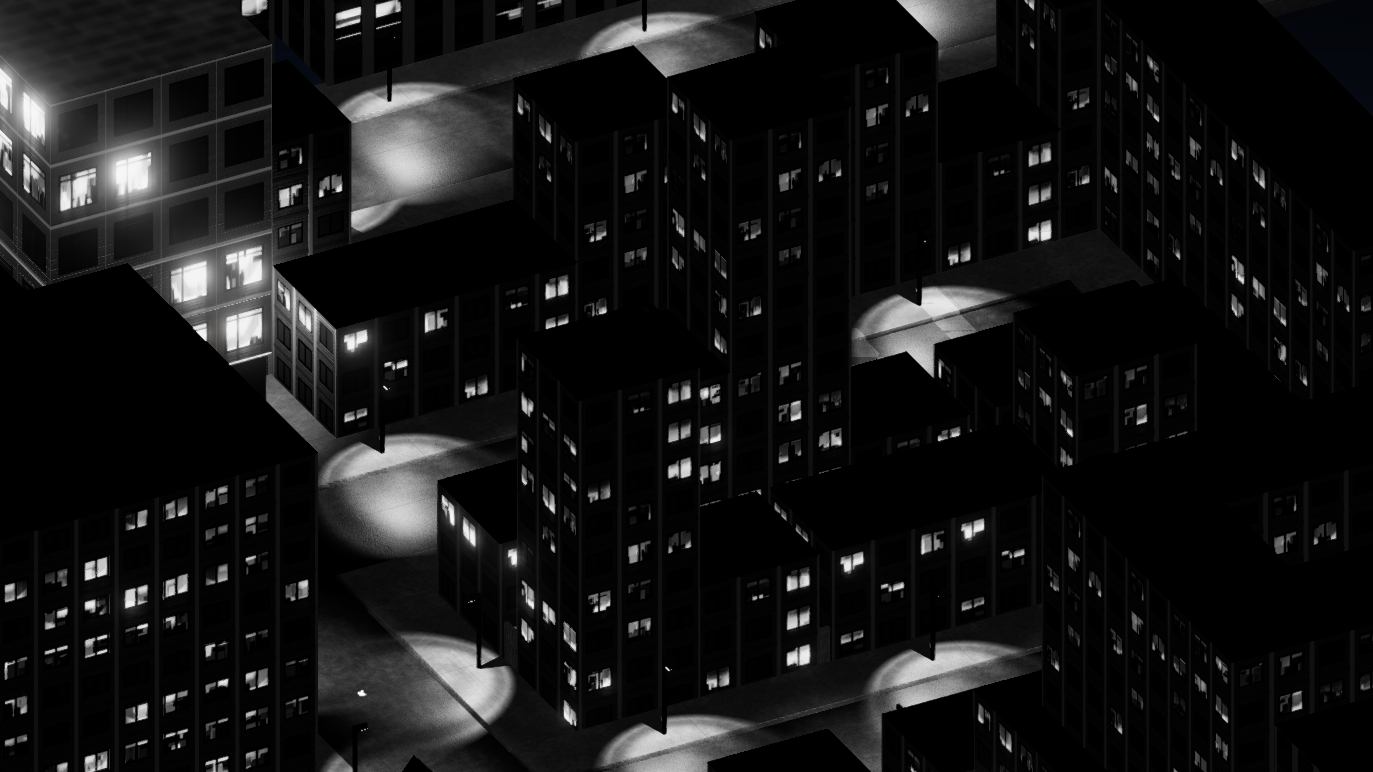
The desaturated output is really nice, and it's not jarring when saturation levels are manipulated. The node graph approach using Amplify Shader was much quicker than traditional methods and as a result it allows quick changes to the shader if tweaks are needed.
Final Grayscale
Final Colour
Tanner Helland. Seven grayscale conversion algorithms. Retrieved from http://www.tannerhelland.com/3643/grayscale-image-algorithm-vb6/ ↩︎